Barcelona Style Cannelloni- Canalones a la Barcelonesa

Standard
Barcelona Style Cannelloni- Canalones a la Barcelonesa

This is originally an Italian dish, but when migrants brought it to Spain, Barcelona adopted and adapted it.  I experienced this dish several years ago in Sabadell, a smaller city just 12 miles from Barcelona.  Choirs sang when I took that first bite.  This is my latest attempt to hear those choirs again.  The Recipe is from The Food of Spain- a journey for food lovers by Vicky Harris.  My changes are in red.  

Barcelona Style Cannelloni

2 tbsp olive oil

125 g (4 1/2 oz) ground beef

125 g (4 1/2 oz) ground pork

200g (7 oz) chicken livers, chopped

I know, I’m a disgrace.  I skipped the chicken livers (I’m not a chef!  I don’t know what to do with them!)

and I just used about a pound of ground chicken and a pound of ground pork.

1 brown onion, diced

1 leek, white part only, halved lengthwise and chopped (get a leek if you can!  They are the BEST!)

2 1/2 tbsp fino sherry (I used vinegar)

1 tbsp chopped thyme

400 g (14 oz) canned chopped tomatoes

4 tbsp chopped flat leaf (italian) parsley

75 g (2 2/3 oz) butter

60 g (1/2 cup) all purpose flour (I used white whole wheat flour)

1 litre (4 cups) milk

pinch of nutmeg (I used more than a pinch)

250 g (9oz) package dried cannelloni tubes

(I went to two Italian import stores- no cannelloni tubes!  I ended up using manicotti tubes, but they are much thicker.  Next time I think I’ll try making my own.)

100 ml (3 1/2 fl oz) pureed tomato

100 g (1 cup) grated Manchego or parmesan cheese

(we splurged and got the Manchego- Mmmmmm!)


PREHEAT the oven to 180 degrees C or 350 degrees F.  Heat the olive oil in a large heavy- based frying pan over medium heat.  Cook the beef, pork, chicken livers, onion and leek for 10 minutes, or until well browned, breaking up any lumps with the back of a wooden spoon.  Add the sherry, thyme, tomato and half the parsley and cook for 3 minutes, or until most of the liquid has evaporated. Season and leave to cool.


TO MAKE the white sauce, melt the butter in a large saucepan over medium heat.  Add the flour and cook, stirring with a wooden spoon, for 1-2 minutes, or until pale yellow.  Remove from the heat and add the milk gradually, stirring constantly until blended.  Return to the heat and slowly bring the mixture to a boil, whisking for 15 minutes, or until thickened.  Season with nutmeg, salt, and pepper.


FILL the cannelloni with the meat mixture using a wide-tip piping (icing) bag or a spoon.  Put the filled cannelloni side by side in a buttered ovenproof dish.  Pour the white sauce over the top and dot with the pureed tomato.  Top with the grated cheese and bake 40-45 minutes.  Garnish with the remaining chopped parsley.


Sooooo Yummy!  Let me know what it’s like with chopped chicken livers!


Canelloni Barcelona recipe Canelloni Barcelona recipe Canelloni Barcelona recipe


Planned Obsolescence Part II: The Fight Begins

Standard

Planned Obsolescence: a policy of planning or designing a product with an artificially limited useful life, so it will become obsolete, that is, unfashionable or no longer functional after a certain period of time. The rationale behind the strategy is to generate long-term sales volume by reducing the time between repeat purchases.

I welcome you to check out Part I of this series here.

So why am I bringing this up again you ask?  Isn’t this just a part of modern living we have to accept?  I say NO!  And so does France!  Check out this Washington Post article.

Essentially, France will fine companies that fail to post the life expectancy of their product.  And they’re planning to require companies to replace broken parts for the first two years!

Moving to France is definitely on my ‘To Do’ list.


What do you think?  Would this sort of thing be possible in other parts of the world?  Are there other ways to fight big businesses on this without strong government action?

Chicken and Spinach Pesto Lasagna

Standard
Chicken and Spinach Pesto Lasagna

Chicken Spinach Pesto Lasagna 2


A few people have asked about this recipe so here it is!  Even my 1 year old likes it, and that’s saying something.  The original recipe is from a mozzarella cheese wrapper and the first time I made it, I followed the recipe exactly.  It was a bit boring- not incredibly flavorful or special.  The pesto flavor got lost in the noodles and cheese and was never found….  So I tried the recipe again recently and made a few key changes. The difference was astounding!  My changes are in red….

Chicken Spinach Pesto Lasagna 

12 uncooked lasagna noodles (I used whole wheat noodles)

3 Tbsp olive oil

1 cup onions, chopped

3 cloves garlic, crushed

2 packages (12oz each) frozen chopped spinach (I used one package spinach and a bunch of kale I had on hand)

1/2 c prepared pesto sauce plus 2 tbsp (you can find my easy pesto recipe here)

3/4 c grated parmesan cheese (I excluded this- I just didn’t have any!)

2 cups shredded mozzarella cheese

3 cups cooked diced chicken (I used canned chicken…. it’s just easier!)

1/2 tsp salt (or a bit more- I try to season at every step)

1/2 tsp pepper

(2 cups ricotta cheese I used a package of soft herbed goat cheese- this was the game changer!)

1 large egg

Preheat oven to 350 F.  Spray 13×9 in casserole dish with nonstick cooking spray.  Partially cook lasagna noodles according to the package.  Heat oil in large skillet over medium-high heat.  Cook and stir onions and garlic until transparent.  Add spinach (and kale); cook and stir about 5 min. Add chicken and stir about 5 minutes.  Season with salt and pepper.

In a large bowl, mix together ricotta cheese (goat cheese), egg, pesto, and parmesan cheese until thoroughly blended.  Add chicken and spinach mixture to bowl and stir to combine.  Spread extra 2 tbsp of pesto in bottom of pan.  Layer 4 noodles, slightly overlapping.  Top with 1/3 of spinach/ricotta mixture and 1/3 mozzarella cheese.  Repeat layers twice.  Bake 35-40 minutes or until hot and bubbly.


The goat cheese really is the star in my version- so if you don’t have pesto on hand just chop up some basil leaves or your favorite italian spices.  If you don’t have goat cheese- maybe add more pesto- and season every step! 

Pillow Talk

Standard

DSC_0289_05 copy

Hey! Valentine’s Day is in a week, so I thought I’d share a little craft I threw together for Valentine’s Day last year.

It’s actually the first pillow I’ve ever made and boy, was it easier than I thought!  I didn’t do anything tricky, and I got to use my scrap fabric that I keep around for this sort of thing.  I just cut out some simple bird and leaf shapes and sewed them on by hand.

My favorite part about this little pillow is the pocket in the front.  I know it’s a little cheesy, but the purpose of the pocket is to act as a little delivery service for random love notes.  I’ll admit that this is something we’re not very good at in our marriage, but the Love Bird pillow has been on our bed for a year now and we’ve written way more notes to each other than we ever have before.

You’ll notice that the pillow is a little lumpy.  That’s because instead of stuffing it or covering up another pillow, I put a zipper on one side of the cover and I use it to store two extra blankets (they’re cuddly but not very attractive).

Happy Valentine’s Day!

Tilapia with Escarole and Lemon-Pepper Sauce

Standard

Tilapia final

“Mmmmmm!  I love this dinner! It’s so easy and tasty.  Wait, I should post this on the blog!  Rats, I don’t have a picture!”  Those were my thoughts this evening, in the middle of dinner, after most everyone had finished.  So, yeah, that’s my excuse for the terrible picture.  You’ll notice though that my 4 year old has already finished her fish.  It’s that good!  Don’t worry, I’ll post a better photo when I make this dish again, in about a month.  In the meantime, you can visit the original recipe at Food Network and see their lovely picture.

There are so many reasons I love this dish.  It’s healthy, it’s easy, it takes only one dish, and it’s delicious!  The fish turns out so tender and flakey and the lemon-pepper oil adds just the right finishing touch.  I have made a few changes to the original recipe, mostly because I don’t like a lot of oil in my food and because I have a hungry 12 year old to feed!  Here it is with my changes.  I hope you enjoy it as much as we do!

Click below to open a printable pdf of the recipe

Tilapia with Escarole

Busy Getting Healthy

Standard
IMG_0588edit

One of the newbies. So sweet! Photography by yours truly.

I guess you’ve probably noticed that it’s been awhile since any of us posted.  Well, we’ve all been pretty busy these last couple of months.  The biggest news is the arrival of three new babies!  Congrats to my three sisters!  Babies and mothers are doing well.

I myself have been working on a website for my photography and getting a real business going.  More on that later.

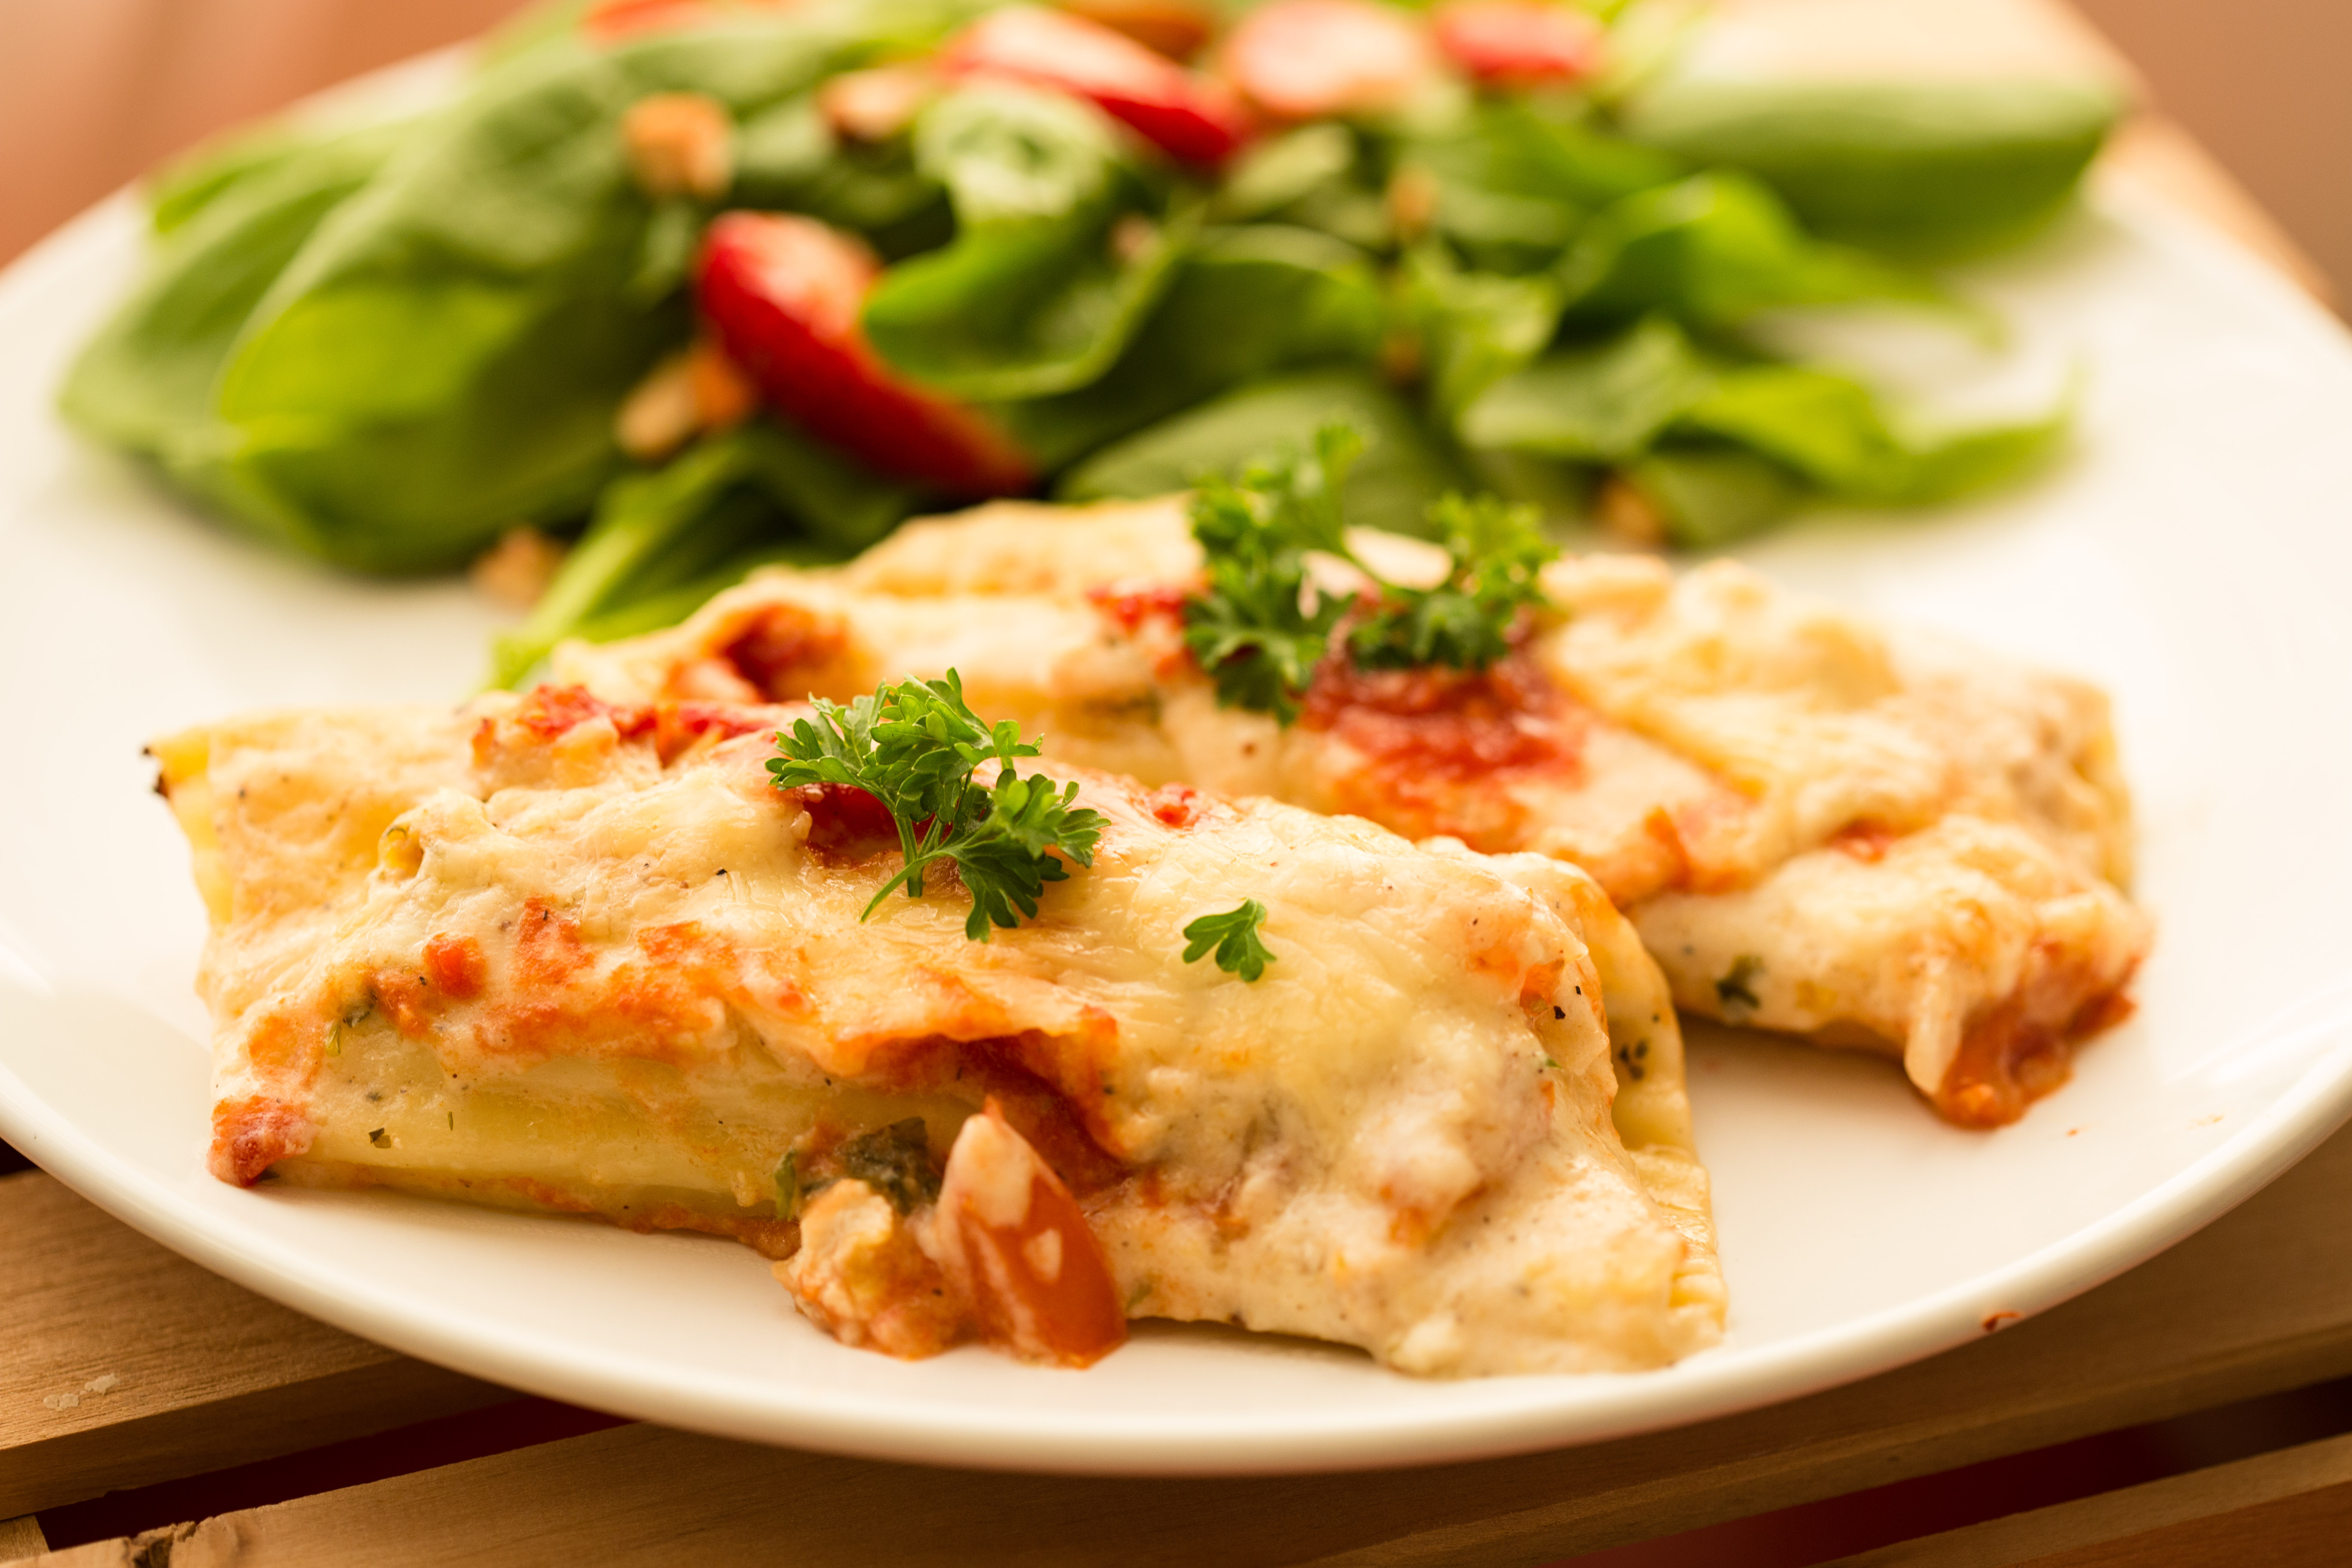
What I really wanted to talk about today was my little family’s very recent and earth shattering goal to GET HEALTHY.   I really don’t want to call it a “diet” because there’s a lot of connotations associated with that word.  Let’s call it a lifestyle change.  It all started 4 or 5 months ago when my husband decided to write an argumentative research paper for English class about health in the U.S.  It started out being about the obesity epidemic and it turned into an expose of the entire food industry and the government’s involvement.  Wow.  Needless to say, we both got pretty passionate about the whole thing.  So then I found this book called The Blood Sugar Solution.

Now, for the past few years I’ve been getting more and more concerned about the health of my growing family.  And what with all the corruption and marketing targeting my children, I really wanted to be able to make smart decisions in the grocery store and keep the really bad stuff out of my house.  But I’ve always been a big believer in “moderation” and the older I’ve gotten, the less inclined I am to be an “extremist”.  So I just did the basic things.  We cut way down on soda- we maybe bought it once a month.  I only bought the whole wheat bread and tortillas and our breakfast cereal had to have at least 3 grams of fiber and contain whole grains (unless there was a sale on Captain Crunch- Yum!)  We had salads daily (complete with ranch) and we cut back on our ice cream and candy intake- but we did splurge regularly.  I also had a habit of keeping processed food around for those 3 or 4 nights a week when I just didn’t feel like cooking.  And we ate a lot of sandwiches.

Sounds pretty normal, right?  It’s not like we ate fast food all the time.  In fact, we avoided it like the plague.  So why did I feel like a skinny fat person with constant sugar cravings and why was my husband 80 lbs overweight?  He also had symptoms that pointed to a possible food sensitivity and inflammation and a family history of dementia and diabetes. I knew I had to do something more and I didn’t want to wait around until my husband was diagnosed with pre-diabetes or worse, hit with a heart attack!  And so I got this book from the library on CD so my husband and I could listen to it together because I knew nothing would happen unless we were completely united.

The first half of the book described exactly what we had found when my husband wrote his research paper- why heart disease is the leading cause of death and why there is a growing plague of type 2 diabetes.  The 2nd half of the book describes basic health needs and nutrition and includes quizzes to help you determine areas in which you may have problems.  The back of the book has recipes and meal planning for two weeks.  That was really what made the entire process realistic to me.

The thing I love about Blood Sugar Solution is that it just makes sense.  It’s almost intuitive.  It’s also very personal.  There are no gimmicks, no special weight loss pills or shakes, no severe calorie cutting- no calorie counting at all, in fact.  It’s all about eating whole, real foods, moderate exercise, and relaxation.  A good multivitamin is recommended but that’s nothing unusual these days.  The healthy eating at first seemed strict and restrictive, but since we made the change we’re eating a greater variety of delicious food than we ever have before!  It’s a pretty simple program to follow when you’re really committed.  We quit eating all processed food.  If it had more than four ingredients or any latin named compounds, we threw it out.  We stopped eating sweet things.  High fructose corn syrup especially, but also sugar and any type of sweetener.  The idea is to break the “sweets” addiction (it really was an addiction for me).  The exception to this was a square of 70% dark chocolate a day and the occasional serving of honey.  We also stopped eating red meat- beef and pork mainly.  We also cut out dairy and gluten for 6 weeks to see if we had sensitivities to either of them. We also avoid flour of any kind- it is quickly absorbed and can drive up your blood sugar.

So what do we eat, you may ask?  Vegetables and fruit– we do avoid citrus and potatoes but everything else is fair game!  Beans beans beans!  I love beans.  Meat! Chicken, wild caught fish, turkey, lamb.  Rice! Brown, wild, or black.  Nuts! Lots of nuts and seeds. With fruit.  Whole grains– quinoa, millet, flax….  And lots of spices and seasonings– basil, parsley, oregano, olive oil, vinegars, sea salt, etc.

The results?  We feel great!  Our digestive systems have never worked so well! We have more consistent energy and we sleep more soundly.  and my husband’s dry, ichy skin on his hands has virtually disappeared!  We eat until we are full and carb and sugar cravings have no power over us!  Oh, and did I mention our clothes don’t fit anymore? I lost 10 lbs and my husband lost 30 lbs.  It’s nice to know that our weight loss is sustainable and healthy and that it won’t just skyrocket back up because we’ve made the change and we’re sticking to it.

Sorry this post is so long- if you made it to the end, congratulations!

Future posts: Photography, Weight loss- before and after, healthy recipes, and my latest craftiness

How is your family being healthy?  I’d love to swap recipes if anyone has some healthy favorites!

The New Haircut

Standard

  This week’s story began a few months ago, while we were watching the Oscars.  My husband’s a movie guy so we had to watch the entire show.  Everything was going along swimmingly.  My husband was winning the ballot by only two categories (that didn’t last long- he creamed me) when my near-future life changed forever.  And it’s all thanks to this beautiful actress.  Charlize Theron.  She’s always been good looking, but that night, she was rocking a sweet, new hairdo.  And right there and then I knew I was going to cut my hair.  I mean, who wouldn’t want to look like her?  No one. That’s who.

Charlize-Theron-Hair

So it turns out Charlize had to shave her head completely for a movie and this is how it’s grown out.  Obviously she’s had some trimming and shaping done, but not much.  It’s still super short.  My own hair on Oscar day had been growing out from a short cut and was shaggy and difficult.  So I thought, what the heck?  I’ll shave my head!  Just like Charlize!

I didn’t just shave it all one length, though.  I used my husband’s electric clippers and I used the third longest attachment on the bottom third, the second longest attachment on the middle section and the longest attachment on the top and front sides.  I like having the “sideburns” a little longer.  I used scissors to trim up over the ears and I got my husband to do the neckline in the back for me. The trick is to cut from the bottom up and go over the shorter areas with the longer attachments in order to blend the transitions in length.

 DSC_0007_15 DSC_0013_15 DSC_0015_13 DSC_0041_14 DSC_0060_03

My mother always says that the difference between a bad haircut and a good haircut is about two weeks.  Is my hair a little shorter than I would’ve liked?  Yes.  So what do I do?  I dye it blond from a box and wait a few weeks.

DSC_0087_15DSC_0092_15

I’ve still got a little while before it’s Charlize’s length and style, but in the meantime, I’m in good company.  You can’t go wrong when the likes of Annie Lennox and Roxette have also rocked the buzz cut. lennox roxette

Dress to Skirt Refashion

Standard

I swear I took some ‘before’ pictures, but I can’t find them anywhere… no worries.  This is the simplest refashion ever so the after pics should be enough.

The dress I used was someone’s old bridesmaid dress made from stiff, shiny polyester with lace overlay (I love the lace).  The bottom half has a flattering almost pencil skirt shape, but the top was just formal and dated.  So all I did was cut the top off- about two inches above the narrowest part of dress.  I sewed a half inch seam around the top and voila!  New skirt!  It sits nice and high and looks great with a belt.

DSC_0303_04 DSC_0306_04 DSC_0315_04 DSC_0320_04

And here’s my sweet baby.  We’re so glad it’s warmed up!

Yarn Wrapped Letters

Standard

Hi all! I don’t even remember the last time I posted on our blog. But I was crafty(!) and I wanted to share.

My husband and I recently found out we are expecting a baby boy and I’ve been itching to buy his bed, carseat, stroller, clothes, etc. etc., but my husband is insisting we wait a while longer mostly because we don’t have the room to store all this stuff without it being used. So I decided instead to busy myself with attempting to make things for our new baby. So this was my first try, and I think it turned out pretty good!

Yarn wrapped letters. I got the initial idea from a friend who is also expecting, and then I looked up a bunch of tutorials online (just google search it, there’s a ton). It narrowed down to there being about a million ways to do this project, so I just went for it and made up my own way.

I didn’t think about making a blog post until I was about to start the last letter of John’s name, so the N is the only one documented, and sorry about the glares and different lighting, I obviously am no photographer!

Materials:
Yarn (your choice of color and texture/thickness)
Wood letters (I got mine from Hobby Lobby, my friend is using cardboard, really anything would work, but the blockier the better. Anything with curly ends might be difficult, the J and O were already hard…)
Hot glue (or tape or regular glue or staples, to attach yarn to letter)

Here’s my letter… don’t mind the fact that I took a picture of it upside down… I thought it looked kind of funny while looking at it later…

Image

Through doing the other letters (and a few tips from other tutorials), I learned I needed to cover the parts that I wouldn’t be able to cover when wrapping the entire letter. I think this will make sense with the next few pictures to come. 

I cut 2(ish)inch pieces of yarn, and hot glued them on the ends of the letter in a vertical fashion.

ImageImageImage

I then did all the other ends the same way. (Yay I finally took the picture the right way up!)

Image

Then I pretty much just started wrapping, using hot glue every once in a while so it wouldn’t come unraveled. I was able to do the “J” all at once, but that was the only one. The “O” I did in four sections, mostly because I couldn’t fit very much yarn through the tiny hole. I did the “H” in five sections, I think, and the “N” I did in four. This worked better for me and made it look nicer, but you might be more proficient than I am and could do it in all one wrap. Also, you’ll notice in my pictures I left little stripes without yarn. I did this just because of the way the letters bent. I think if I were to do this again, I would try and find (or cut out) letters that didn’t have serifs (the blocky parts at the ends) as I had to go back after wrapping and add pieces of yarn to fill those stripes (as shown in the picture) and I wasn’t a huge fan of the way it turned out looking. It would have been much easier if the wood letters looked just like this font “JOHN”. Just a note in case you’re actually thinking about doing this.

ImageImageImage

Then I added hooks. I eyeballed these, and hoped they wouldn’t make the four letters hang at different heights and look silly on the wall.

Image

And here’s the finished project! I added the two little zebra embellishments to hide a few mistakes/parts I didn’t like how they looked. The zebras were on a stick in a cupcake at a baby shower I went to over a year ago, and I thought they was so cute I kept them, and I’m glad I did!

Image 

My husband came up with the great idea of hanging the letters at an angle so I wouldn’t have to worry too much about my eyeballed hooks. Here’s what it looks like…

Image

I had a ton of fun doing this project, it was quite simple, and really cheap! 
Thanks for reading!

Valentine Treats

Standard

Happy Valentine’s Day!  I just thought I’d share a few of the treats I made this year!

My husband loves Oreos.  But you know what’s even better than Oreos?  HOMEMADE Oreos!

Here’s the recipe I used:

1 box devils food cake mix

1/3 cup oil

1/2 tsp vanilla

2 eggs

mix together, roll into cherry sized balls and bake at 375 for 6-8 minutes

Do not over cook! Cookies should look soft and moist.

Cream Cheese Frosting:

1/4 cup butter

1 8 0z package cream cheese- softened

4 cups powdered sugar

Cream together butter and cream cheese- add powdered sugar as mixing

frost cookies with frosting and top with another cookie.

These are delicious!  If you want to shake things up, use different flavors of cake mix and frosting!  To make mine a Valentine cookie, I used a heart cookie cutter on the cookies right after they came out of the oven.

I had lots of frosting left over, so for my second treat, I simply put the cream cheese frosting on nila wafers and topped it with a slice of strawberry.  Very easy, but it tastes like a little strawberry shortcake.

DSC_0296_06 DSC_0298_04 DSC_0301_02

Enjoy!